Hey Everyone!! Check out this amazingly, cute paper village!

How cool is it! It's a new Paper Project Kit from DCWV who've teamed up with Spotlight Australia. It comes with six building, one being a pretty awesome looking church, plenty of mini trees and... a family of reindeer!! I'm so excited! LOL!

They are actually so cute! All glittery with gold highlights. The buildings themselves have a frosted white glitter, which is unfortunately hard to see in these photos. The kit also provides a copper wire, battery operated lighting system. This really sets your display apart from the norm, especially at night.
But I wanted to take this project one step further. Let's transform this house...

to this..

Each Christmastime, it's a family tradition to bake Gingerbread Houses... from scratch! Not an easy task. But this! So much easier and a lot less gooey! LOL
To start, create the chosen house as per the instructions in the kit. I would recommend painting the house a toasty gingerbread brown colour before assembling. This way you wont get paint on the gold trimmings!
I've also started to gather my supplies, such as white cardstock borders from simple scallop punches and Christmas Patterned Papers from DCWV.

If you haven't already painted your house, now is the time to do it, allowing it to dry. Add paint to the underside of the eaves as well.


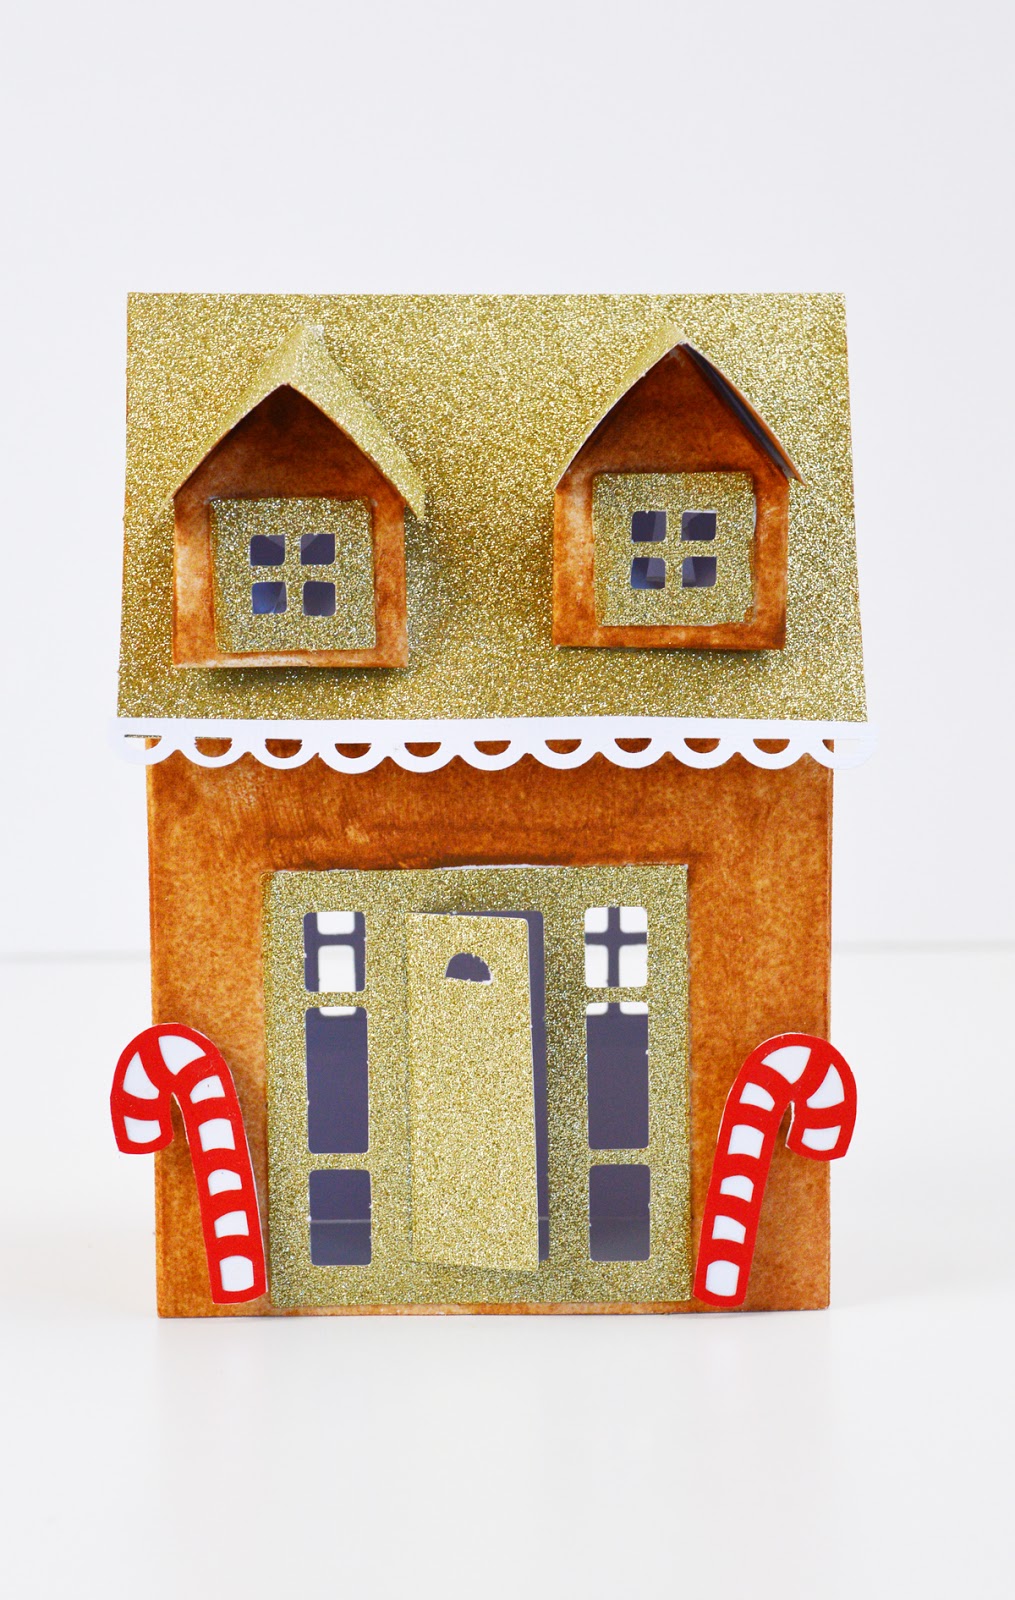
Trim some candy canes from the DCWV Holiday Paper Lace Mat Stack. Mount it onto some white cardstock and carefully trim around the outside.


Add some candy canes to the front entrance of the gingerbread house with foam dots. Glue a scallop border to the front and back eaves of the roofline as well.
The rest of the gingerbread house has been decorated using the DCWV Holiday Jewel and Very Merry Mat Stacks.

Simple shapes have been used to create the snowman and trees on the side of the house and more scallop border punches have been added above the door. These borders have wrapped around the outside of the house to recreate the look of iced decorations.
Using a white gel Pen or paint, decorate the windows with lines and dots. Frame the window s with fussy cut branches - images found in the DCWV Very Merry Mat Stack.
Complete the look with gumdrops - flower punched shapes overlapped with each other. The DCWV Holiday Jewel Patterns Mat Stack provides plenty of beautiful colours to choose from.

Finally, light up you house using the supplied copper light system. This gingerbread house can be used as a stand alone feature or add it to your scene to create some fun and interest!
Thanks for visiting and please don't forget to check out the DCWV blog for more fun ideas..x
Thanks for visiting and please don't forget to check out the DCWV blog for more fun ideas..x


